
How to repot houseplants, step by step
How to tell a pot is too small, why the new one should be only a little bigger, and what to do after repotting.
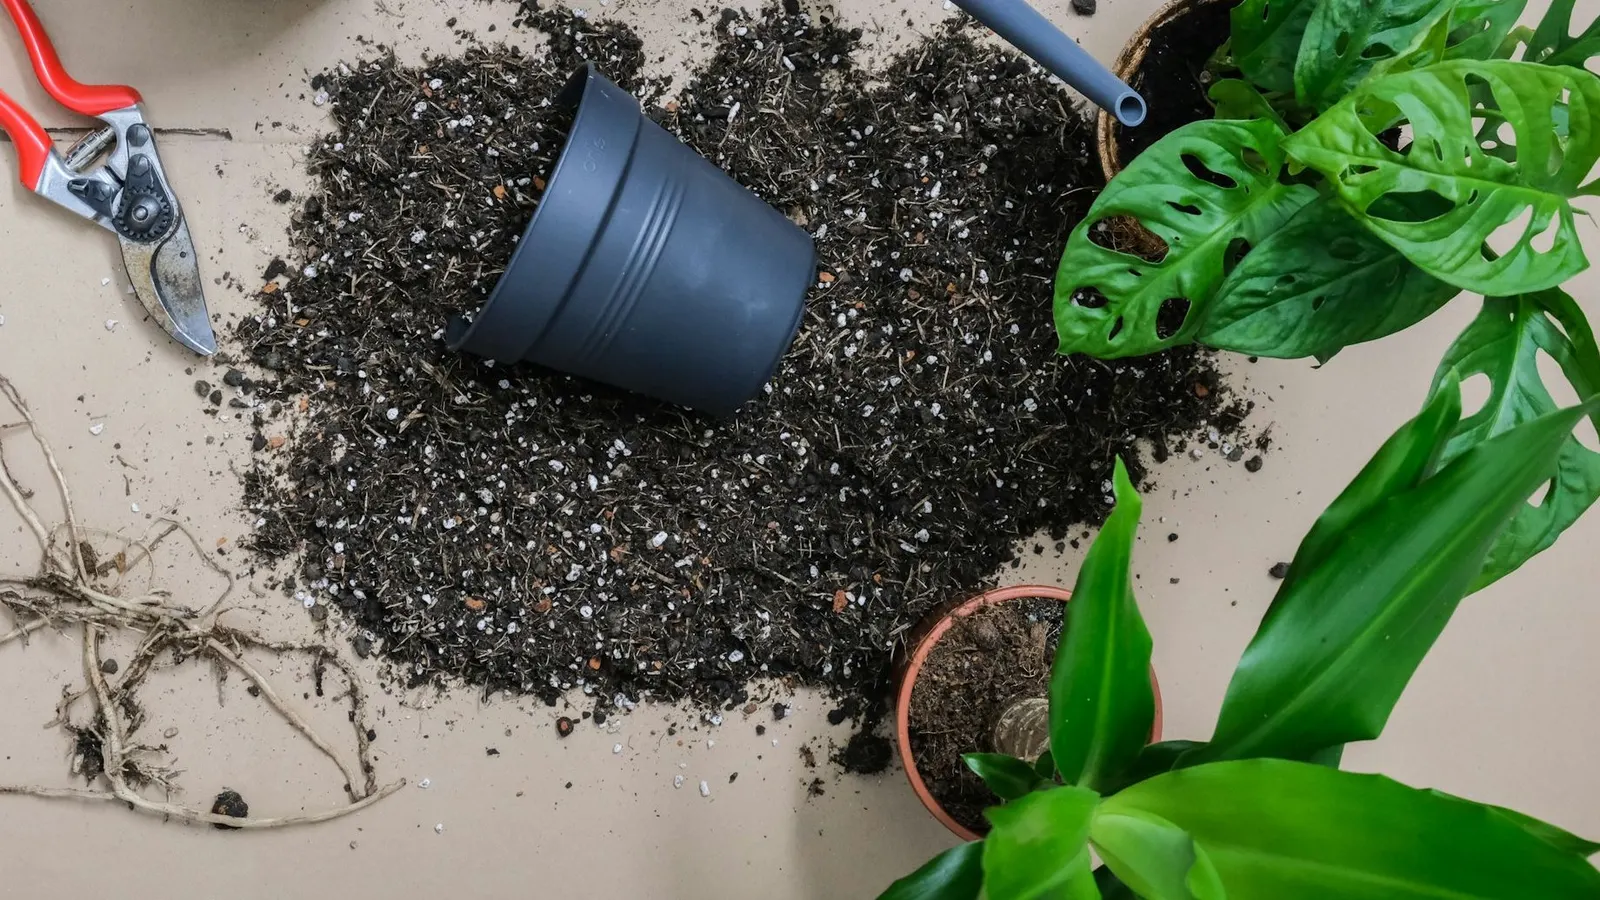
Autumn and winter are not a good time to repot. Plants grow slowly in winter, and the Royal Horticultural Society (RHS) points out that fresh compost easily stays waterlogged at this time of year. Unless your plant is in trouble, save this guide for spring.
How to tell the pot is too small
According to North Carolina State University and Montana State University, look for these signs:
- roots growing out of the drainage holes or showing on the soil surface,
- soil drying out much faster than it used to, so you have to water more and more often,
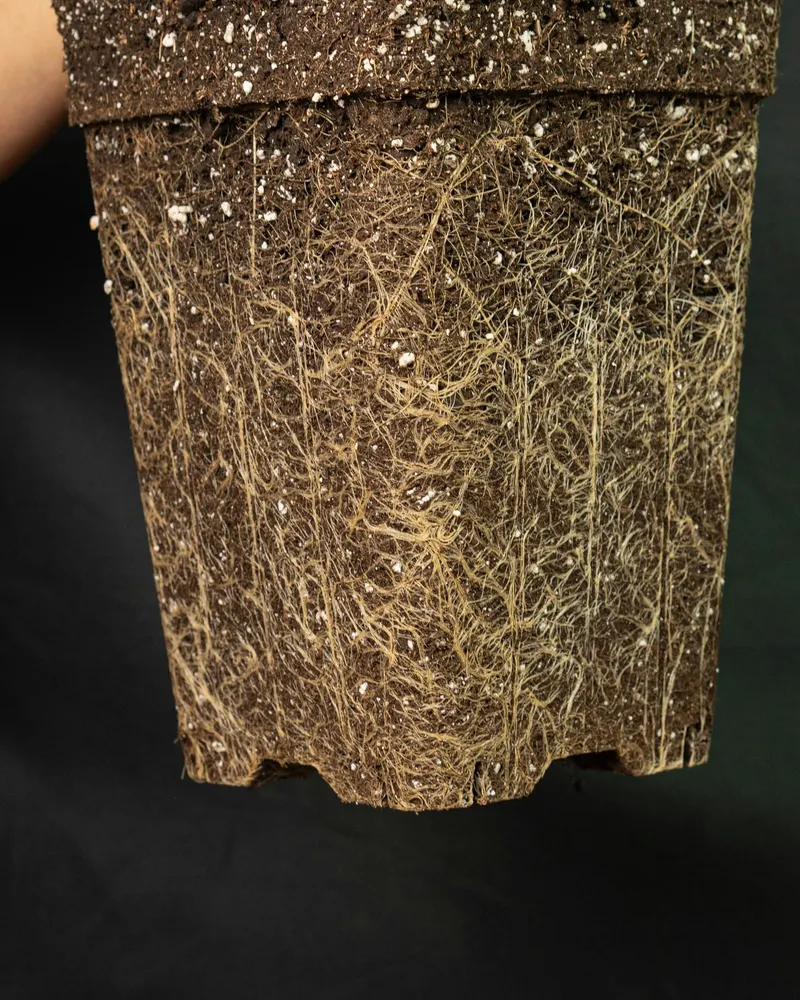
- a dense tangle of roots circling around the inside of the pot,
- a plant that's taller than its pot and keeps tipping over,
- yellowing lower leaves and hardly any growth, even though you feed it in season,
- a white crust of salts on the soil or the pot.
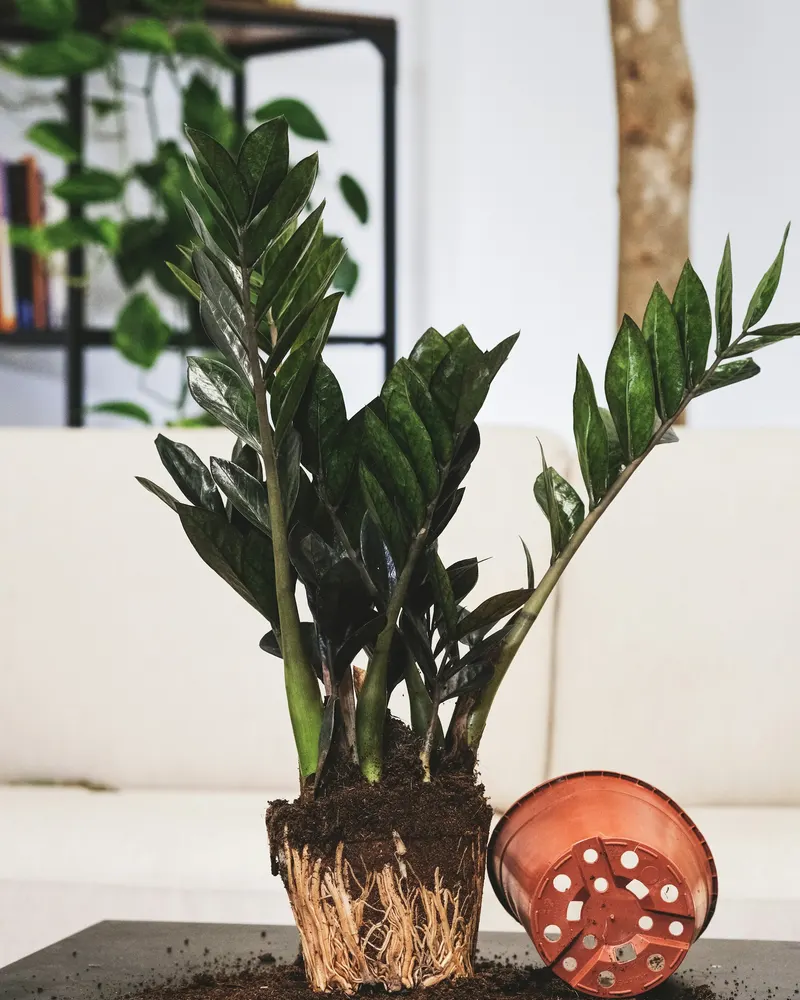
If you're not sure, slide the plant out of its pot and look at the roots. The RHS warns that when roots fill a pot they can block drainage, which leads to root rot.
One sign on its own doesn't prove much. Yellow leaves can also come from overwatering, which we covered in How to tell when your houseplant needs water.
When to repot
Spring, when the plant starts growing. The RHS, NC State and Montana State agree on this. Montana State says late winter to early spring. The RHS advises avoiding autumn and winter.
The exception is a plant under stress. Montana State says you can repot one of those any time. Outside spring, that could mean a broken pot, a plant that keeps falling over, or roots rotting in soggy compost.
How big a pot
Only a little bigger. NC State and the University of Illinois both say no more than 2 inches (5 cm) wider.
For pots under 25 cm, the RHS suggests going roughly 2.5 to 5 cm wider and deeper. Montana State works with about a third bigger.
Why not jump to a much bigger pot so you're set for years? A pot that's too big holds lots of soil the roots can't use yet, and that soil stays wet for a long time. The University of Illinois warns that this leads to root rot.
Drainage holes are a must
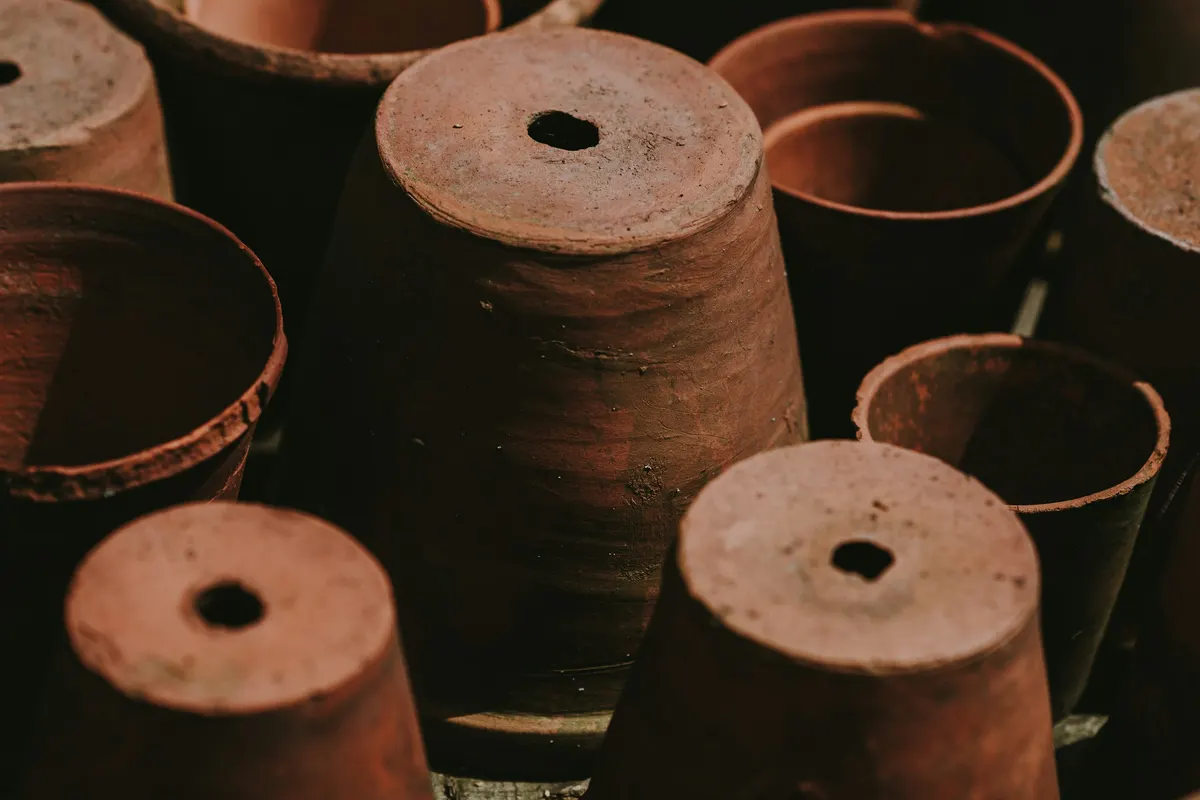
The pot needs holes for water to drain. A decorative pot without holes is fine only as an outer pot, with a pot that does have holes inside it.
Don't put gravel or clay pebbles at the bottom. NC State cites research showing that a layer of gravel under the soil actually makes drainage worse, and the University of Illinois says the same.
A piece of paper towel or a coffee filter over the hole is enough to keep the mix from falling out.
Which potting mix
For most houseplants, buy a ready-made houseplant potting mix. Don't use garden soil. According to NC State it drains poorly and can carry pests and diseases. Montana State also mentions specialty mixes:
| Plant | Potting mix |
|---|---|
| Most houseplants, e.g. rubber plant, peace lily, pothos | general houseplant mix |
| Cacti and succulents, e.g. aloe | cactus and succulent mix |
| Orchids | orchid bark, never soil |
Orchids follow slightly different rules, covered in our Phalaenopsis orchid care guide.
Repotting step by step
1. Water an hour before
The University of Illinois suggests watering the plant about an hour before repotting, and Montana State also recommends moistening the root ball. Moist roots tear less.
2. Take the plant out
Don't pull it by the stem. NC State suggests turning the pot upside down with your hand over the soil around the stem, then tapping the rim on a table.
If it won't come out, run a knife around the inside edge. You can also cut a plastic pot open.
3. Check the roots
Cut off dead, mushy or rotting roots. Gently tease apart the ones circling the pot.
For a badly rootbound plant, Montana State suggests cutting about half an inch (just over 1 cm) deep into the sides and bottom of the root ball with a sharp, clean blade, then loosening the roots with your fingers.
4. Add mix to the bottom
Put a layer of fresh mix in the bottom, usually 1 to 2 inches (2.5 to 5 cm) according to Montana State.
Set the plant at the same height it was before. The top of the root ball should sit about an inch (2.5 cm) below the rim.
5. Fill the sides and firm gently
Fill in around the roots and firm the mix gently with your fingers, or tap the pot on the table. Don't pack it down hard.
NC State warns that packed wet mix loses its air space and the roots suffer. Don't bury the stem deeper than it was.
6. Water
Water until it runs out of the drainage holes. After about 20 minutes, pour off what's left in the saucer, the University of Illinois advises. If the mix settles, top it up.
After repotting
- Give it a few quiet days. Montana State recommends keeping the plant in indirect light for a few days.
- Don't panic. A few yellow or dropped leaves are normal after repotting. The University of Illinois mentions transplant shock, where the plant wilts a little.
- Don't feed it. Montana State says to wait at least two weeks before fertilising so the roots can recover.
- Don't repot for no reason. If a plant is doing well and shows none of the signs above, leave it be.
In short
- Repot in spring. In winter, only in an emergency.
- New pot at most 5 cm wider, with a drainage hole, no gravel.
- Match the mix to the plant: general, cactus or orchid bark.
- Afterwards: indirect light and no fertiliser for at least two weeks.
Sources
- RHS: How to repot a plant
- NC State Extension: How to Repot a Houseplant
- Montana State University Extension: Repotting houseplants
- University of Illinois Extension: Tips for repotting houseplants